Connecting to Juniper using the console port

In this chapter, you will learn how you can connect to Juniper device to be able to configure it. I will show you how you can do that using the console port that is available on most Juniper devices. Also, I will show you what softwares you need to use to be able to connect to the Juniper appliance using the console.

As a Juniper engineer, you will have to work always on the command line to configure the device. Once you have a Juniper device, you cannot connect to its IP address to gain access to it via the CLI because simply you do not know what IP address it does have and whether it has an IP address anyway. For this reason, you require to use the console to gain the first access to the Juniper device.

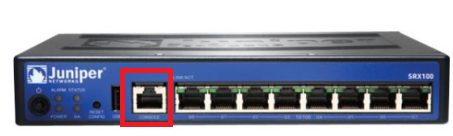
First, you need to have a console port on your Juniper device. This is something you can find it on the front side of the Juniper device:

Of course, you have to have the router powered on, then you connect the console cable to the console port of the router from one side, and to your PC/Laptop from the other side. The console cable looks like this:

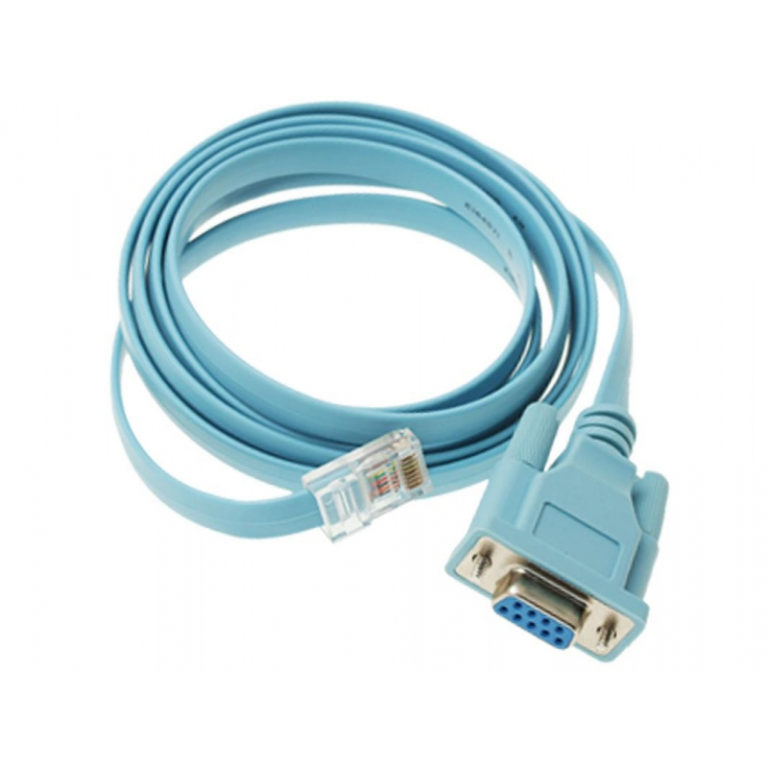
It has an RJ45 connector from one side and a DB-9 from another side. You put the RJ45 side in the console port of the Juniper device and the DB-9 side in the PC/Laptop. If you do not have a serial port on your PC (most likely you won’t with new devices), then you can use a converter cable to convert the DB-9 to USB:

Once all is connected, you need an emulator software on your PC to open the CLI to the router using the console.

I will show you 2 emulator softwares which are TeraTerm and Putty. Of course, there are plenty of other softwares that you can use, but the way that I will show you with those 2 softwares is the same for any other ones.

Let’s try with TeraTerm first – this software is a freeware, and the beauty of this software is that it can recognize directly that COM port that you are connecting to via the console port. I have already TeraTerm software installed on my PC:

I will double click on the software and will get the following output:

In TeraTerm you can connect via IP or via Serial (serial means via console). So, I will choose via Serial and see if it can find out the COM port that my PC is using to connect to the Juniper router:

I can see clearly that it has found the port where my USB-Serial is connected to which is COM3. I will select it and click on ok and see if I can reach to the Juniper router via console:

Indeed, I could connect to the Juniper router via console.

I have now closed the session on TeraTerm and want to show you how to connect to it via Putty which is also a freeware software.

I already have putty installed on my PC:

When you double click on it, you get the following:

Now, you have to choose Serial from the “Connection type” and put COM3 on the “serial line” because we already know from TeraTerm that this is the port that Windows machine has used (unfortunately, Putty does not discover the port by itself as TeraTerm), then click open:

Once you do that, you can see that the CLI on putty has opened and you can reach to the Juniper via the console:

Hoerraaaaa!!!! It is working.

Let’s see in the upcoming point how you can recover the password on the Juniper router in case you do not know it or you lost it.

Course Content

0 Comments

Submit a Comment

Your email address will not be published. Required fields are marked *


The reCAPTCHA verification period has expired. Please reload the page.

About